Rib Tattoo Ideas
50+ Unique Rib Tattoo Ideas by Global Tattoo Artists
-
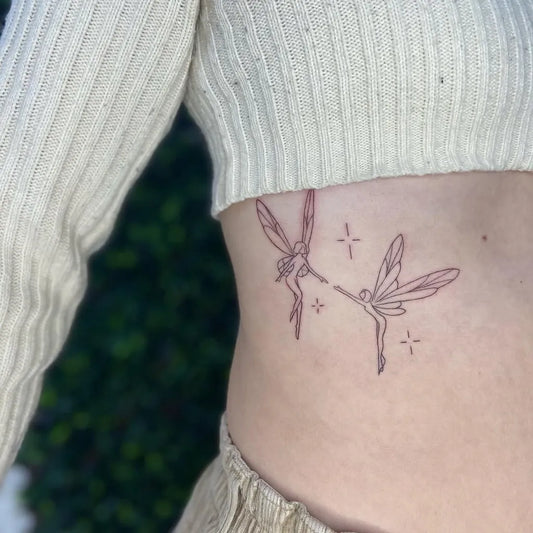
Small Fine Line Two Fairies Tattoo on Women Rib by @gunbietat
Small Fine Line Two Fairies Tattoo on Women Rib by @gunbietat
-

Medium Blackwork Spiky Web Tattoo on Women Rib by @spookylew.tattoo
Medium Blackwork Spiky Web Tattoo on Women Rib by @spookylew.tattoo
-

Medium Blackwork Flowers and Vines Tattoo on Women Rib by @czarnykot.tattoo
Medium Blackwork Flowers and Vines Tattoo on Women Rib by @czarnykot.tattoo
-

Medium Black and Grey Two Hummingbirds Tattoo on Men Rib by @xtinamariaart
Medium Black and Grey Two Hummingbirds Tattoo on Men Rib by @xtinamariaart
-

Small Black and Grey Swallows Tattoo on Women Rib by @kahm_tattoo
Small Black and Grey Swallows Tattoo on Women Rib by @kahm_tattoo
-

Small Blackwork Butterfly Tattoo on Women Rib by @isabelasainz___ttt
Small Blackwork Butterfly Tattoo on Women Rib by @isabelasainz___ttt
-

Small Blackwork Sword Tattoo on Women Rib by @illo_ttt
Small Blackwork Sword Tattoo on Women Rib by @illo_ttt
-

Tiny Minimalist Zodiac Symbols Tattoo on Women Rib by @eagletatt
Tiny Minimalist Zodiac Symbols Tattoo on Women Rib by @eagletatt
-

Medium Black and Grey Flowering Vine Tattoo on Women Rib by @loftn5tattoo_bali
Medium Black and Grey Flowering Vine Tattoo on Women Rib by @loftn5tattoo_bali
-

Small Blackwork Name Tattoo on Women Rib by @baby.kait
Small Blackwork Name Tattoo on Women Rib by @baby.kait
-

Small Fine Line Dahlia Flowers Tattoo on Women Rib by @tinytatswigan
Small Fine Line Dahlia Flowers Tattoo on Women Rib by @tinytatswigan
-

Small Blackwork Bamboo Branch Tattoo on Women Rib by @tattooist_kam4
Small Blackwork Bamboo Branch Tattoo on Women Rib by @tattooist_kam4
-

Medium Black and Grey Eagle Heart Crown Tattoo on Men Rib by @tattoosbykase
Medium Black and Grey Eagle Heart Crown Tattoo on Men Rib by @tattoosbykase
-

Medium Black and Grey Child Playing Soccer Tattoo on Men Rib by @vocozun
Medium Black and Grey Child Playing Soccer Tattoo on Men Rib by @vocozun
-

Small Fine Line Lavender Tattoo on Women Rib by @mortismarauder
Small Fine Line Lavender Tattoo on Women Rib by @mortismarauder
-

Small Fine Line Peony Flower Tattoo on Women Rib by @mudi.ink
Small Fine Line Peony Flower Tattoo on Women Rib by @mudi.ink
-

Medium Black and Grey Bird and Cherry Blossom Tattoo on Women Rib by @lunalanatattoo
Medium Black and Grey Bird and Cherry Blossom Tattoo on Women Rib by @lunalanatattoo
-

Small Blackwork Butterfly Tattoo on Women Rib by @rocky_esparza_tattoos
Small Blackwork Butterfly Tattoo on Women Rib by @rocky_esparza_tattoos
-

Small Fine Line Sunflowers and Wildflowers Tattoo on Women Rib by @jayprick_tattoos
Small Fine Line Sunflowers and Wildflowers Tattoo on Women Rib by @jayprick_tattoos
-

Small Fine Line Moon and Stars Tattoo on Women Rib by @solyn_tattooist
Small Fine Line Moon and Stars Tattoo on Women Rib by @solyn_tattooist
-

Small Blackwork Runes Tattoo on Women Rib by @thecopperwolf
Small Blackwork Runes Tattoo on Women Rib by @thecopperwolf
-

Small Fine Line Mountain Range Tattoo on Women Rib by @kajul_tattoo
Small Fine Line Mountain Range Tattoo on Women Rib by @kajul_tattoo
-

Big Realism Monarch Butterflies Tattoo on Women Rib by @chucky_tattoos
Big Realism Monarch Butterflies Tattoo on Women Rib by @chucky_tattoos
-

Medium Blackwork Hammer and Ribbon Tattoo on Women Rib by @victor_aka_chili
Medium Blackwork Hammer and Ribbon Tattoo on Women Rib by @victor_aka_chili
-

Small Blackwork Cross and Vines Tattoo on Women Rib by @inkedby.tee
Small Blackwork Cross and Vines Tattoo on Women Rib by @inkedby.tee
-

Medium Black and Grey Sun Moon Names Tattoo on Women Rib by @13londie_
Medium Black and Grey Sun Moon Names Tattoo on Women Rib by @13londie_
-

Small Fine Line Flowers Women Rib by @tattoosb
Small Fine Line Flowers Women Rib by @tattoosb
-

Small Fine Line Lily Flowers Tattoo on Women Rib by @jamezkan
Small Fine Line Lily Flowers Tattoo on Women Rib by @jamezkan
-

Small Blackwork Crow with Scythe and Skull Tattoo on Men Rib by @halfbackwards
Small Blackwork Crow with Scythe and Skull Tattoo on Men Rib by @halfbackwards
-

Medium Black and Grey Surreal Mushroom Landscape Tattoo on Women Rib by @jamescooper.fineline
Medium Black and Grey Surreal Mushroom Landscape Tattoo on Women Rib by @jamescooper.fineline
-
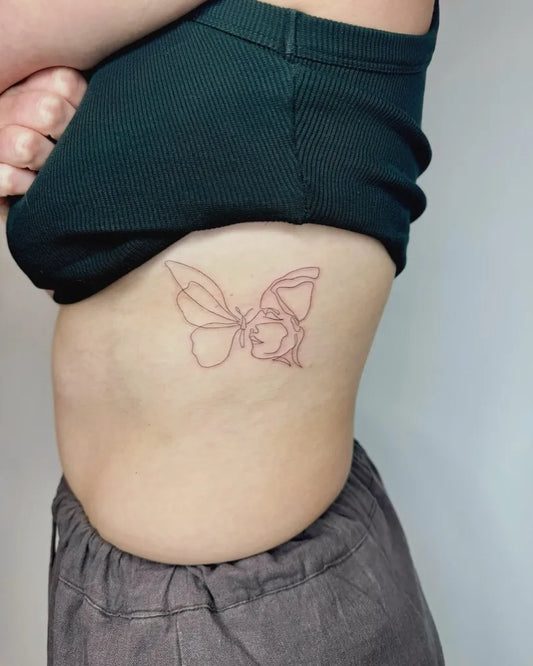
Small Linework Butterfly and Face Tattoo on Women Rib by @kj.finelinetattoos
Small Linework Butterfly and Face Tattoo on Women Rib by @kj.finelinetattoos
-

Big Neo Traditional Tiger and Snake Tattoo on Women Rib by @inkduptat2
Big Neo Traditional Tiger and Snake Tattoo on Women Rib by @inkduptat2
-

Small Linework Female Figure with Rose Tattoo on Women Rib by @jmunz549
Small Linework Female Figure with Rose Tattoo on Women Rib by @jmunz549
-

Medium Blackwork Wolf Woman Tattoo on Women Rib by @steveohtattoo
Medium Blackwork Wolf Woman Tattoo on Women Rib by @steveohtattoo
-

Small Minimalist Sun Tattoo on Women Rib by @hellbaby_ink
Small Minimalist Sun Tattoo on Women Rib by @hellbaby_ink
-

Medium Black and Grey Tiger Tattoo on Men Rib by @phillygtattoos
Medium Black and Grey Tiger Tattoo on Men Rib by @phillygtattoos


Temporary Tattoos
-
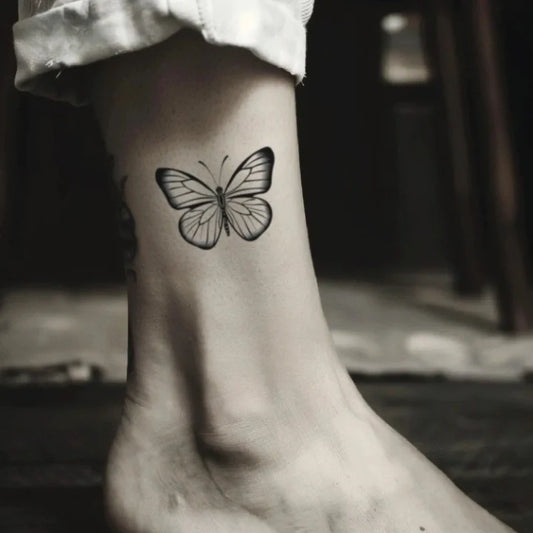
Simple Butterfly Temporary Tattoo
Vendor:TattoobnbRegular price $9.99 USDRegular price$9.99 USDSale price $9.99 USD -
Medusa Flower Temporary Tattoo
Vendor:TattoobnbRegular price $9.99 USDRegular price$9.99 USDSale price $9.99 USD -
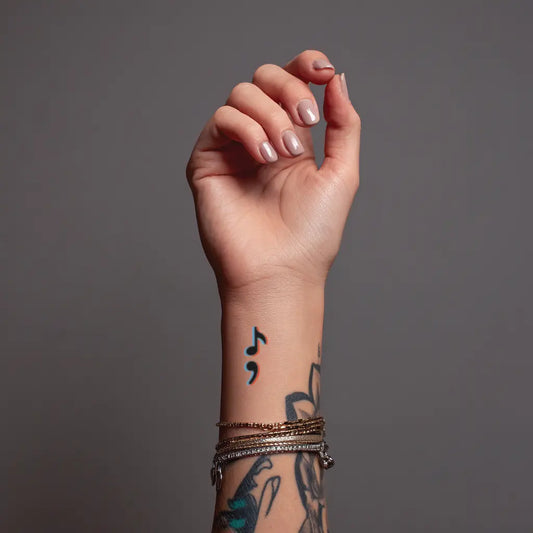
Music Semicolon Temporary Tattoo
Vendor:TattoobnbRegular price $9.99 USDRegular price$9.99 USDSale price $9.99 USD -
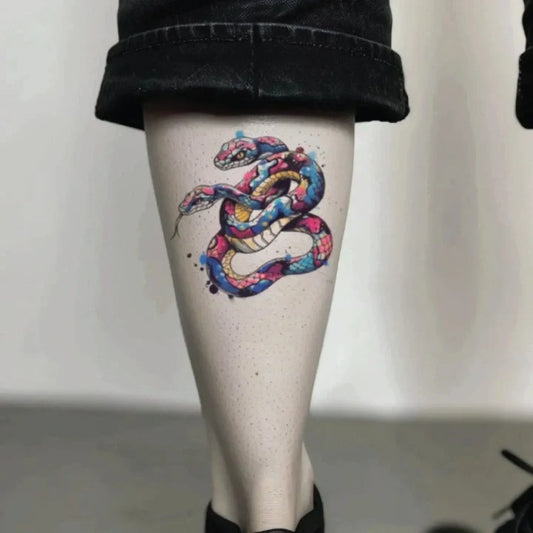
Colorful Two Headed Snake Temporary Tattoo
Vendor:TattoobnbRegular price $9.99 USDRegular price$9.99 USDSale price $9.99 USD -
Let Them Temporary Tattoo
Vendor:TattoobnbRegular price $9.99 USDRegular price$9.99 USDSale price $9.99 USD -
Tribal Phoenix Temporary Tattoo
Vendor:TattoobnbRegular price $9.99 USDRegular price$9.99 USDSale price $9.99 USD -
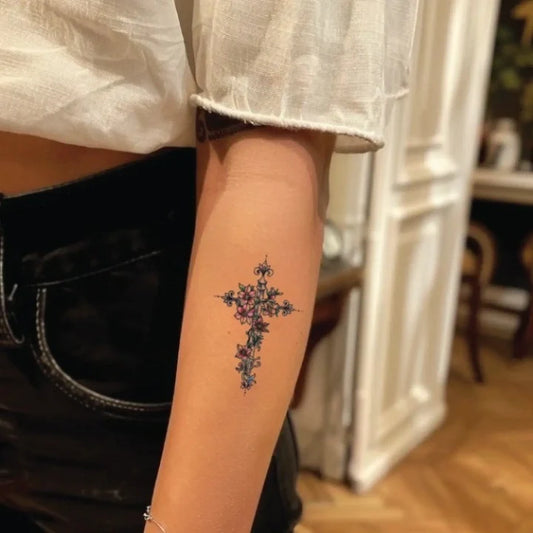
Flower Cross Temporary Tattoo
Vendor:TattoobnbRegular price $9.99 USDRegular price$9.99 USDSale price $9.99 USD -
Simple Skull Outline Temporary Tattoo
Vendor:TattoobnbRegular price $9.99 USDRegular price$9.99 USDSale price $9.99 USD